
A few days back I introduced you to my renovation project from last summer.
Today I will introduce my personal favorite part of the bedroom and bathroom (part of our basement suite) that I renovated for our university-aged daughter.
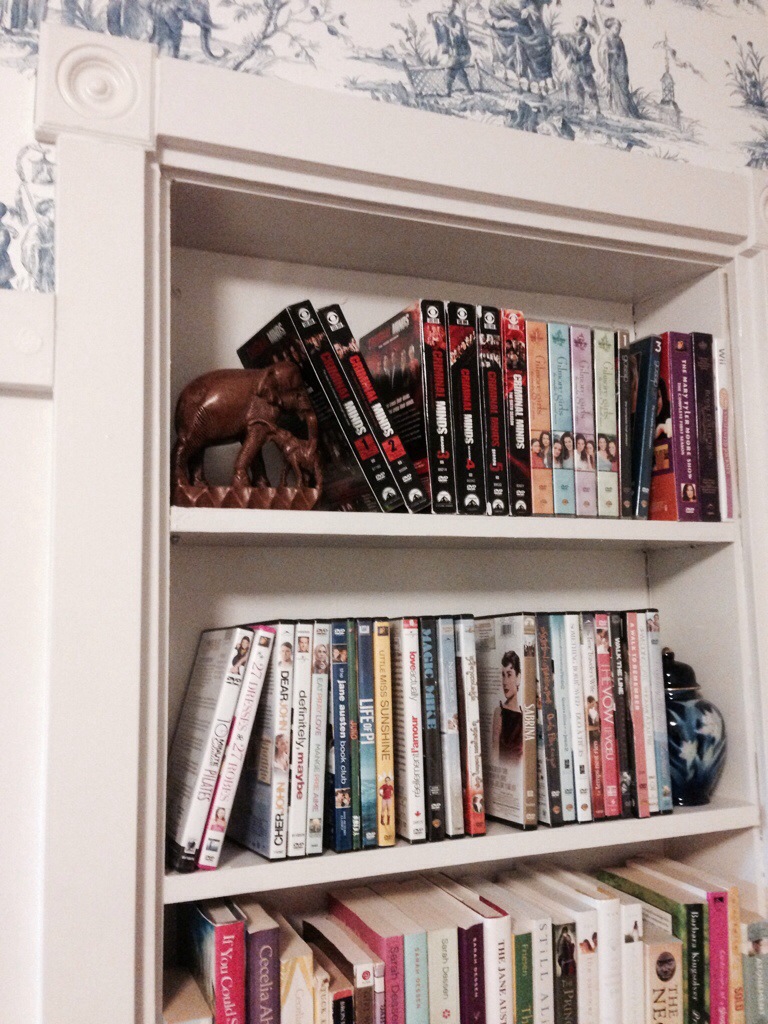
Instead of starting with ‘before’ pics, I thought I’d start with the ‘after’ pic.
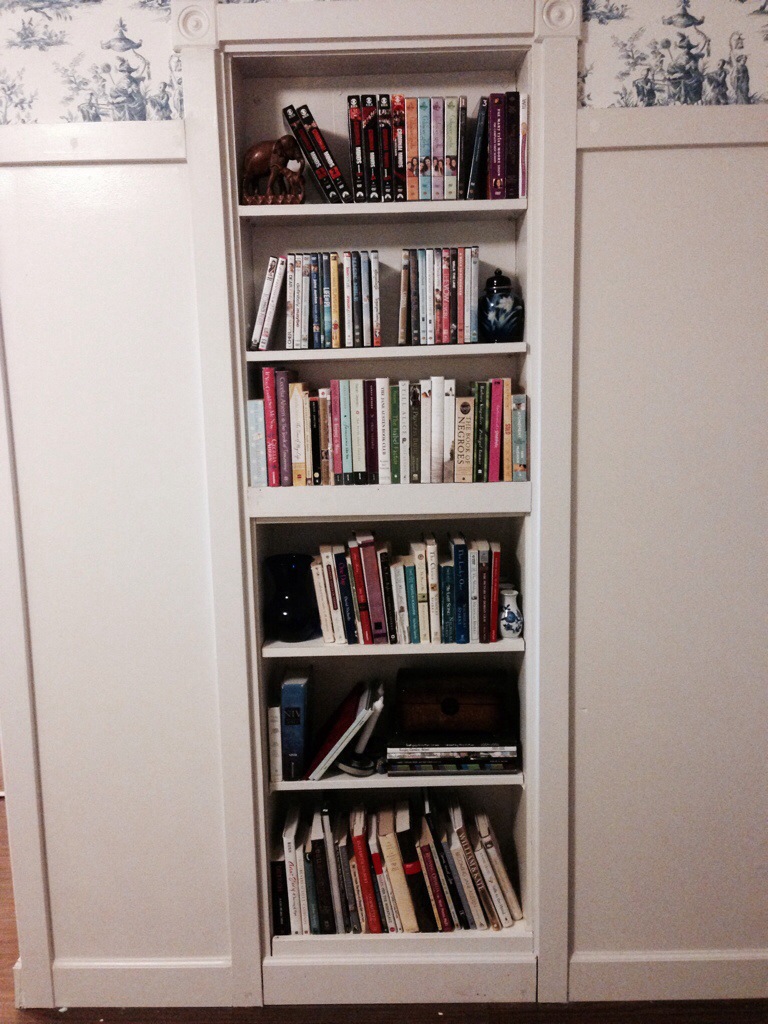 I had been dreaming of creating this built-in bookcase for over a year, and I am thrilled with how it turned out.
Unfortunately my ‘before’ picture disappeared from my phone, so do your best to imagine that, originally, there was a poorly-painted bi-fold door covering this space. Behind the door was a crawl space that is under our U-shaped staircase.
The upper part backed onto the drywall of the staircase, and was about seven inches deep. I framed up three shelves and installed them (from an old wooden shelf that was falling apart … aka. it was free).
 The lower part took a bit more … prayer.
I knew what I wanted to do, but my funds were limited, and my skill level that of a beginner.
Thankfully, it was garbage day while taxiing my son somewhere. Thank goodness for people who put usable items out with their trash (with a ‘free’ sign on them). There, on the side of the road, was a small white bookcase. I slowed, and as soon as I started to turn, my son (who knows me SO well) said, “do you want me to put it in the back for you?” Gotta love a young man who can read your mind!
Once home I was delighted to discover that it was the PERFECT size for my space! I then went to a Habitat for Humanity Re-Store (a great place to find usable building materials for cheap) and purchased four wheels (for about $4, total) to attach to the bottom of the shelf.
 The only thing I had to scratch my head about was how to cover the unsightly bottom. That was easily fixed by cutting the baseboard to perfectly fit the opening, then add a backing that would cover the space between the baseboard and the shelf, so that it looks like it is part of the shelf (see below and to the right of the shelf).
And that is my pièce de résistance of this renovation.


[…] « Renovations of Summer Past – Part 2 […]